- Author Horace Young [email protected].
- Public 2023-12-16 10:35.
- Last modified 2025-01-23 11:41.
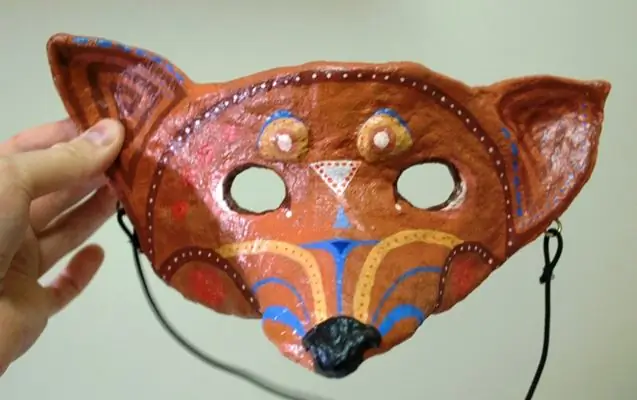
Papier-mâché attracts a lot of people, because almost everything can be done in this technique. It will take not so much time for a child to make a light and cheerful mask of an animal (for example, a fox or a dog). It is worth setting aside a free hour or an hour and a half for creativity for several days.

It is necessary
Wire, pliers, nippers, plasticine; paste (starch + water); scissors; bandages, napkins or paper handkerchiefs, cotton wool; sharp knife; PVA glue, hard brush; metal rings; sandpaper; paints, brushes; varnish; elastic band, thread, needle
Instructions
Step 1
The wire frame should be made first. The contour of the future mask is formed from the wire, knots are bent at the joints. Where the ears are attached, you can stick pieces of plasticine.
Step 2
Using the welded and cooled paste, you need to make the first layer - dip the bandage in the paste and pull it between the edges. The bandage is durable and gives the mask the desired shape. Then it is worth attaching pieces of napkins, which quickly absorb excess paste. After the base layer has dried out, it is necessary to make another 2 - 3 thin layers. After applying each new layer, the mask becomes moist, soft and flexible, but soon hardens. The layers dry for several hours, but you can speed up the process by drying the mask, for example, with a hairdryer or fan.
Step 3
After drying with a knife and scissors, you should cut out the holes for the eyes, taking into account the fact that they will be slightly smaller in the finished mask. Sections at the edges of the eyes can be soaked with PVA glue and sealed with napkins.
Step 4
Using a flat hard brush, apply PVA on the surface of the mask, and on top, apply and smooth the pieces of napkins with a brush - over the entire area, periodically drying. You can slightly adjust the shape, level the surface, applying more napkins and cotton wool to some areas, and less to others.
Step 5
Then it is important to make rings for the elastic or string. You can buy metal rings with pins - like on photo frames - or make something like this yourself out of wire.
Step 6
Taking glue and cotton wool, you should shape the eyebrows and nose. If the mask turns out to be rough, it is worth walking over the surface with a fine sandpaper.
Then you need to paint the "muzzle". It is better to apply the base coat with a stiff brush so that the paint better penetrates into all the recesses. After painting, the mask is varnished.


